If you are using Photoshop to create, edit, prepare and print your artwork, you have probably grappled with the problem of be sure that the colors you print are just like the colors you see on your screen. It's important to match the paper you are using to your printer and to get photoshop to cooperate in the process.
So here here some tips for doings this.
First for whatever paper you are using, go to the website of the manufacturer and see if they have profiles -- most of them will.
I use Museo Silver Rag paper so I go to this website http://www.museofineart.com/profiles.aspx
I click on Museo Silver Rag
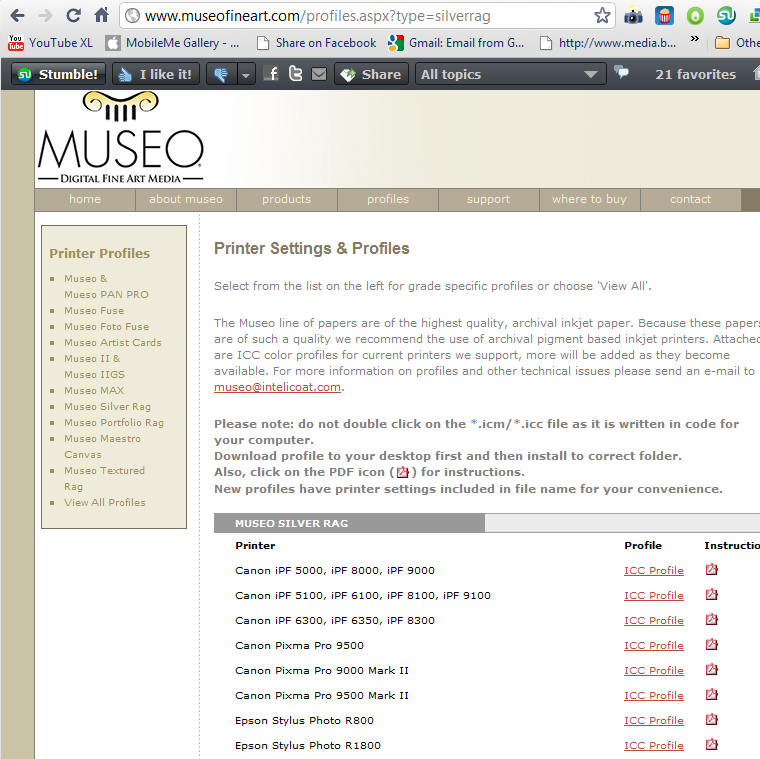
Then download the profile.
Once you have downloaded the profile, just click on it and it will be installed in the proper folder.
Then you have to get your printer and photoshop to agree on who is in control
To use the profile
- you should be sure that your image has an embedded profile of its own. Next, set up your Proof Setup in Photoshop.
- Go to View/Proof setup/Custom.
- Set your profile to Epson Museo, do not check the Preserve ColorNumbers, set the intent to Perceptual with No black-point compensation.
- Save your new proof setup as Museo™.
- Now, when you go to Print with Preview, select Show More Options under the image. Make sure the drop-down listshows Color Management, then,
- set your Source Space to Proof. This should now show Museo, if not, select Museofrom the Drop-down options. Finally, be sure that the print space options match your proof settings, the intent should be Relative.
- for Museo Silver Rag: Select Advanced in the bottom right of the Epson printer driver.
- Now set the image quality atphoto-1440dpi. Under Color Management Select ICM, then select No Color Adjustment, be sure your paper selection(media type) is set to Premium Luster.
